How to Paint Fiberglass Planters: A Step-by-Step Guide for Stunning Results
How to Paint Fiberglass Planters: A Step-by-Step Guide for Stunning Results
Painting fiberglass planters is a great way to give your garden or patio a fresh, colorful look. Whether your planters are faded, scratched, or you just want a new style, this guide will help you do it right. We’ll cover everything from cleaning and sanding to choosing the best paint and adding a protective finish. By the end, you’ll know exactly how to make your fiberglass planters look brand new!
Why Paint Fiberglass Planters?
Fiberglass planters are lightweight, durable, and perfect for outdoor use. But over time, sun, rain, and dirt can make them look dull. Painting them not only refreshes their appearance but also adds a layer of protection. Plus, you can match them to your home’s color scheme or create fun designs!
What You’ll Need
Before starting, gather these supplies:
- Cleaning supplies: Mild soap, water, sponge, and a scrub brush.
- Sandpaper: 120-220 grit for smoothing the surface.
- Primer: A bonding primer made for fiberglass or plastic.
- Paint: Acrylic or spray paint designed for outdoor use.
- Paintbrushes or spray gun: Depending on your paint choice.
- Clear sealant: To protect your paint job from weather.
- Drop cloth or newspaper: To protect your workspace.
- Painter’s tape: For masking off areas you don’t want to paint.
How to Paint Fiberglass Planters: The Complete Process
Step 1: Clean the Planter Thoroughly
Dirt, grease, and old paint can prevent new paint from sticking. Here’s how to clean your fiberglass planter:
- Rinse the planter with water to remove loose dirt.
- Scrub with mild soap and a sponge or brush. Pay extra attention to grimy spots.
- Rinse again and let it dry completely.
Pro Tip: If there’s mold or mildew, use a mix of water and vinegar (1:1 ratio) to clean it.
Step 2: Sand the Surface
Sanding helps the paint stick better. Follow these steps:
- Use 120-220 grit sandpaper to lightly sand the entire surface.
- Focus on rough or chipped areas.
- Wipe away dust with a damp cloth and let it dry.
Note: If your planter has a glossy finish, sanding is extra important to remove the shine.
Step 3: Apply Primer
Primer creates a smooth base for paint and helps it last longer.
- Choose a bonding primer made for fiberglass or plastic.
- Apply a thin, even coat with a brush or spray.
- Let it dry as per the instructions (usually 1-2 hours).
Why Primer? Without primer, paint may peel or chip faster, especially outdoors.
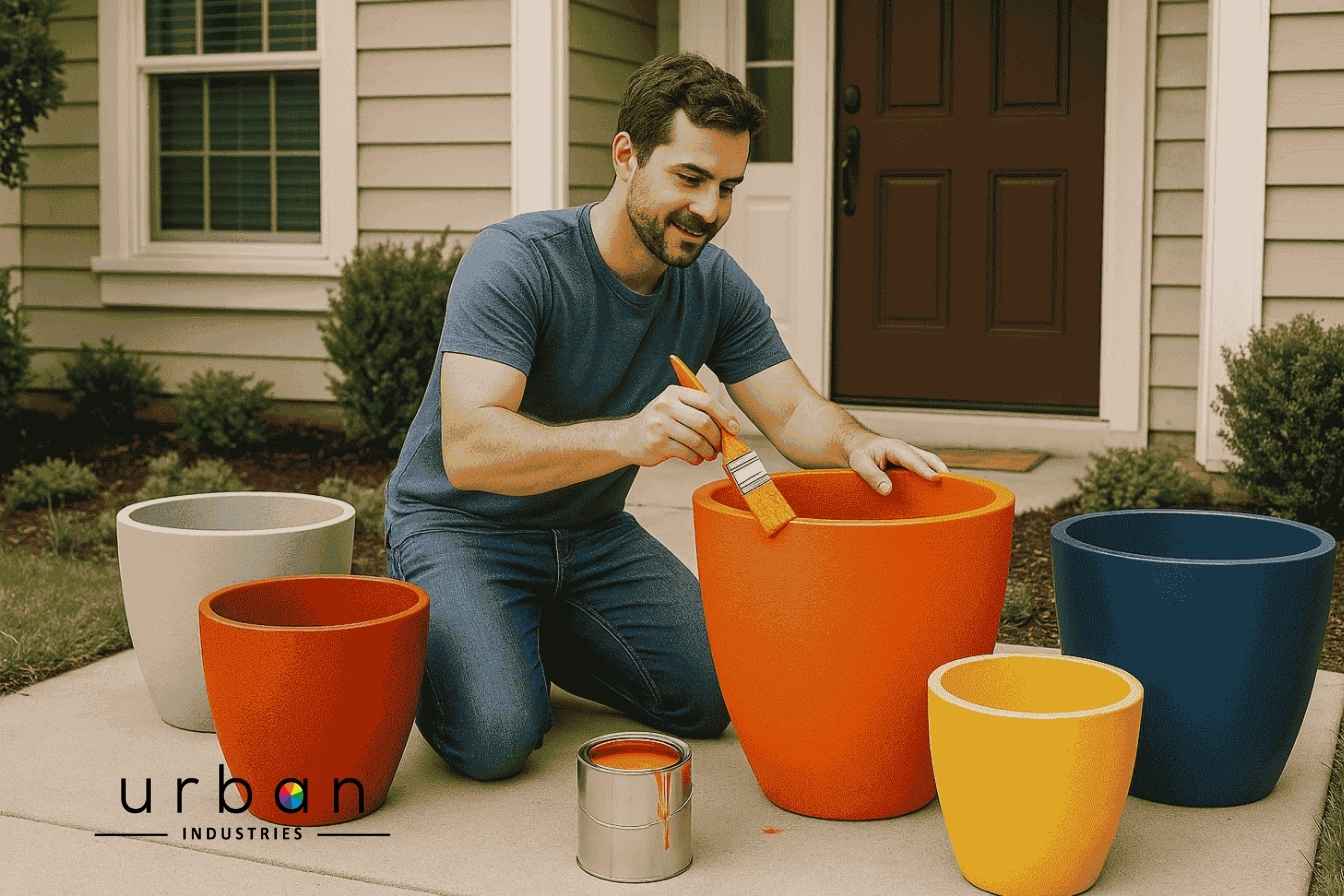
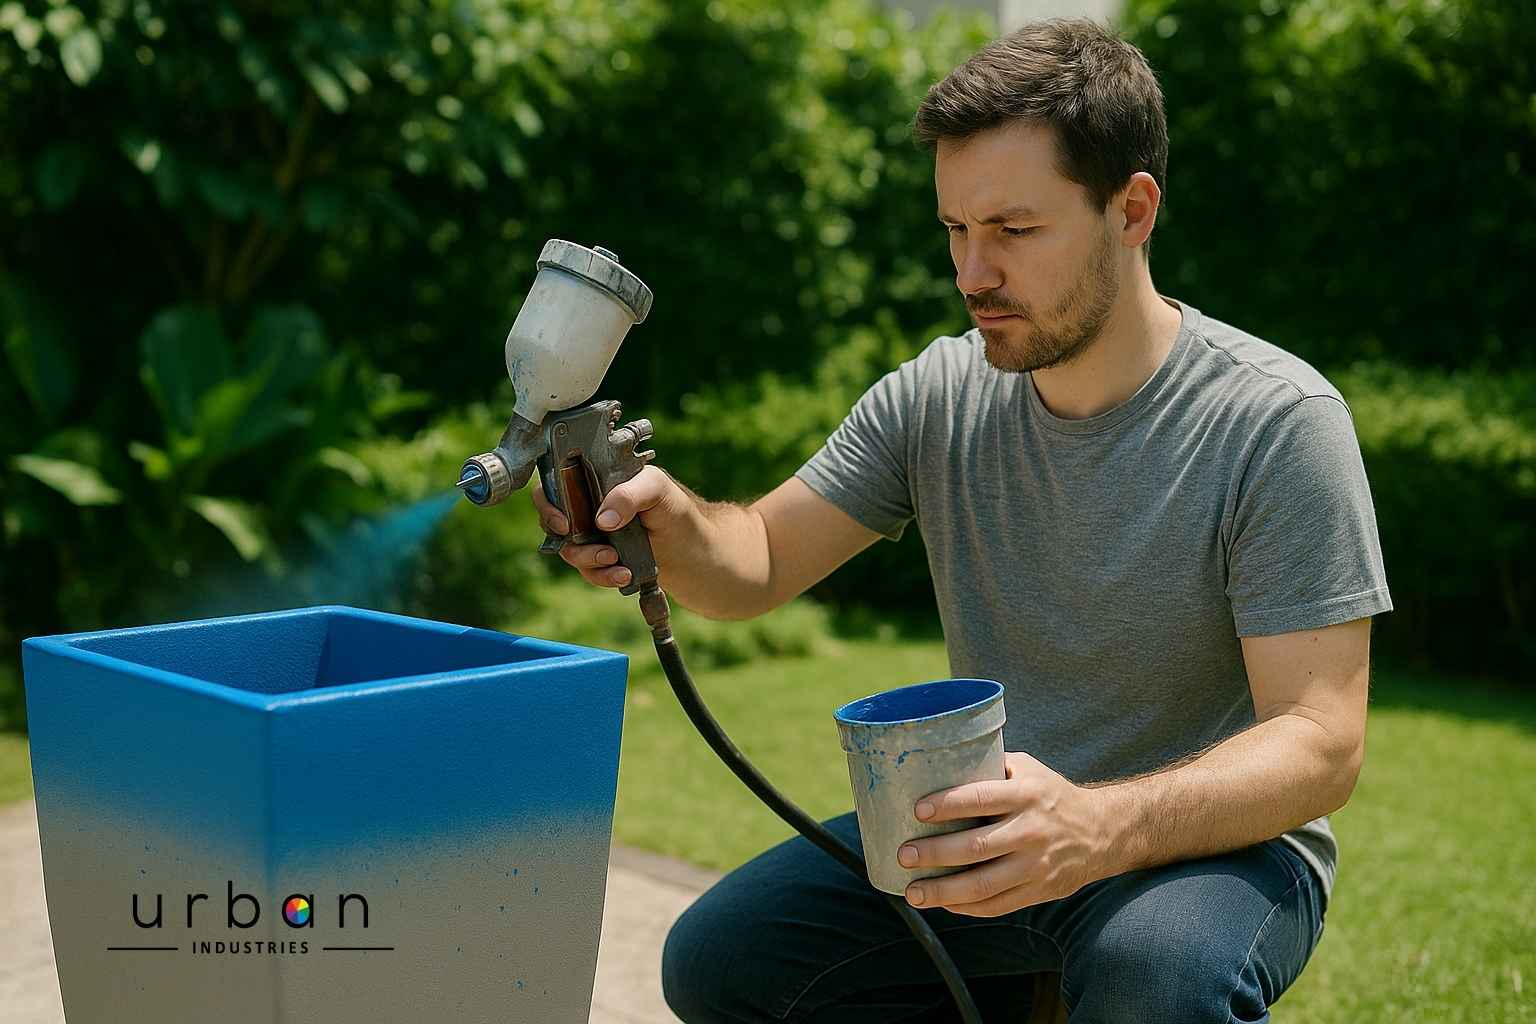
Step 4: Paint Your Planter
Now for the fun part—adding color!
Choosing the Right Paint
- Acrylic paint: Great for brush application, durable, and comes in many colors.
- Spray paint: Faster and gives a smooth finish, but needs careful application.
Painting Steps
- Stir the paint well before using.
- Apply thin coats—2-3 coats work better than one thick coat.
- Let each coat dry (check the paint can for drying times).
- Use even strokes to avoid streaks or drips.
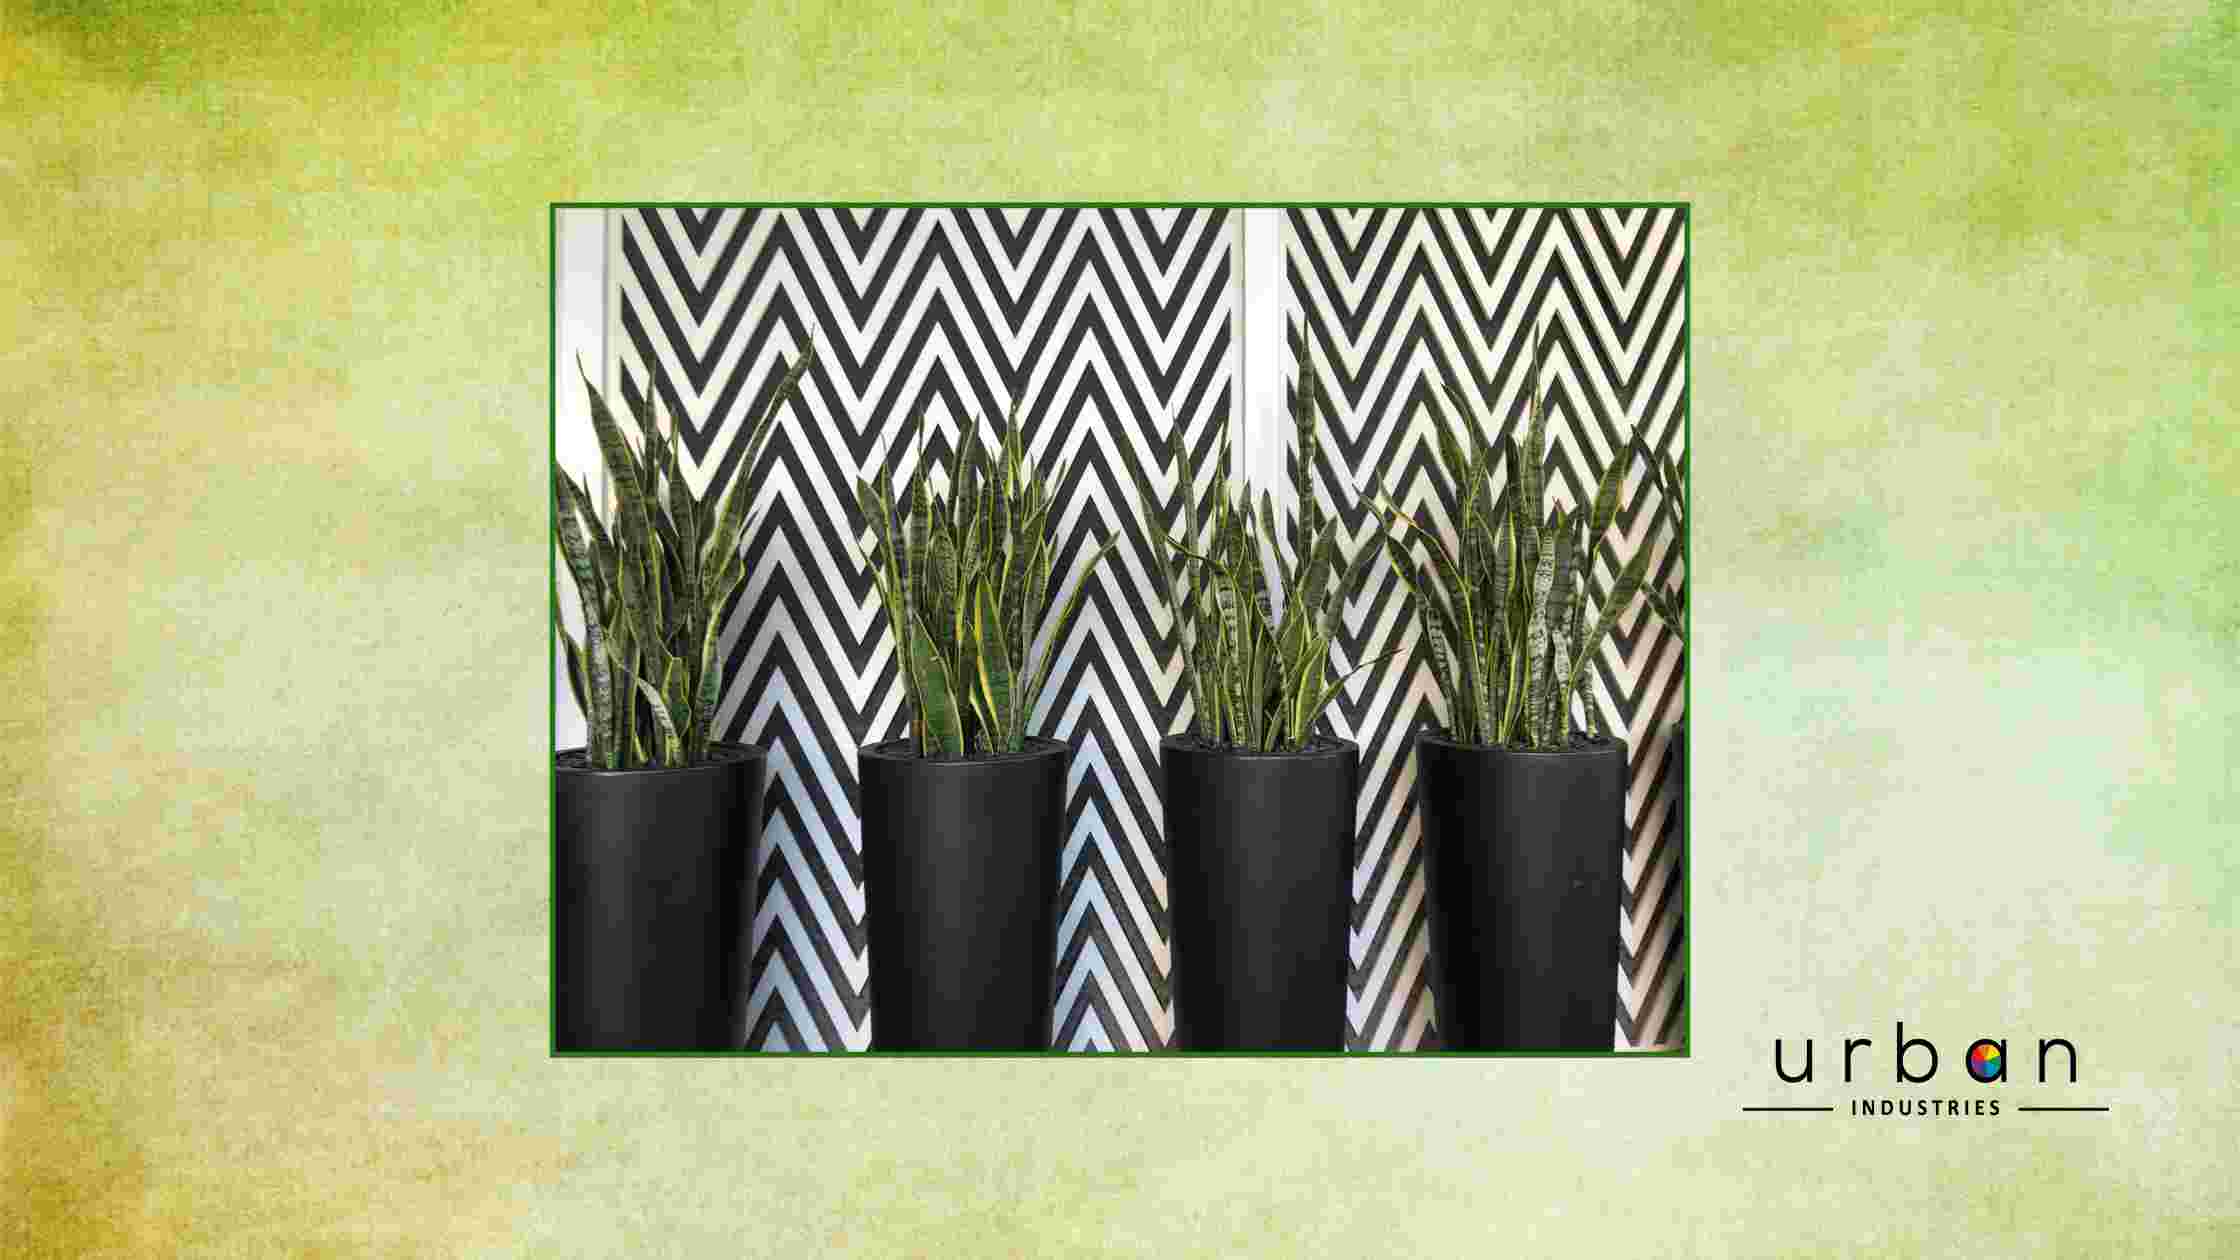
Design Idea: Use painter’s tape to create stripes or geometric patterns before painting!
Step 5: Seal the Paint
A clear sealant protects your paint from rain, sun, and scratches.
- Choose a UV-resistant, waterproof sealant.
- Apply 1-2 coats, letting each dry completely.
- For extra shine, use a gloss finish. For a matte look, use a flat sealant.
Step 6: Let It Cure
Before placing plants inside, let the planter cure for at least 24-48 hours. This ensures the paint and sealant fully harden.
Also Read: How to Pick Long-Lasting Paint for Outdoor Planters
Maintenance Tips
- Clean gently with soap and water to keep the paint fresh.
- Reapply sealant every 1-2 years for long-lasting protection.
- Avoid harsh chemicals that can damage the paint.
Common Mistakes to Avoid
- Skipping primer → Paint peels faster.
- Painting in humid weather → Longer drying time, possible streaks.
- Using indoor paint → Won’t withstand outdoor conditions.
Frequently Asked Questions
Final Thoughts
Painting fiberglass planters is an easy and fun DIY project. With the right steps, your planters will look amazing and stay protected for years. Now it’s your turn—grab your supplies and give your garden a colorful upgrade!
Paint Durability Calculator
Want to know how long your painted fiberglass planters will last? Use our interactive calculator! Just select your paint type and local climate to instantly see an estimated lifespan—so you can plan for touch-ups or enjoy years of worry-free color.
Perfect for DIYers who want long-lasting results!
This guide covers everything you need to know about painting fiberglass planters, ensuring better results than other tutorials online. Happy painting!